Best Exterior Lighting for Pathways and Walkways: The Definitive Guide
The navigation of a residential or commercial landscape after sunset is a task that bridges the gap between basic physiological safety and sophisticated architectural expression. While a path serves a binary functional purpose—getting a person from point A to point B—the manner in which that path is illuminated dictates the psychological state of the traveler. Best Exterior Lighting for Pathways and Walkways. Effective path lighting is not merely about preventing a stumble; it is about defining the boundaries of the habitable environment and guiding the eye through a curated nocturnal narrative.
In the American architectural context, the challenge of pathway illumination is compounded by extreme climatic variability and the diverse materials used in modern hardscaping. A lighting strategy that succeeds on a bluestone walk in the temperate Northeast may fail on a decomposed granite path in the arid Southwest if the hardware’s thermal management or ingress protection is not specifically calibrated for the environment. Furthermore, the advent of “Dark Sky” initiatives across many U.S. municipalities has shifted the focus from raw lumen output to precise optical control, demanding that light be placed only where it is needed: on the ground.
True mastery of this field requires looking past the superficial “style” of a fixture to the underlying physics of light distribution. It involves an understanding of the “inverse square law”—how light intensity diminishes over distance—and the “spacing-to-mounting-height ratio,” which determines whether a walkway will be a series of distracting bright spots or a smooth, continuous ribbon of light. This article provides a technical and strategic analysis of the systems required to establish a permanent, high-authority lighting asset for any high-value property.
Understanding “best exterior lighting for pathways and walkways”
The phrase best exterior lighting for pathways and walkways is often treated as a search for a specific product, but in a professional editorial context, it refers to a comprehensive lighting effect. The “best” system is one that resolves the tension between visibility and glare. A frequent misunderstanding is that a brighter path is a safer path. In reality, high-intensity light sources placed within the field of vision cause the pupil to constrict, making the unlit areas of the yard appear pitch black—a phenomenon known as “disability glare.”
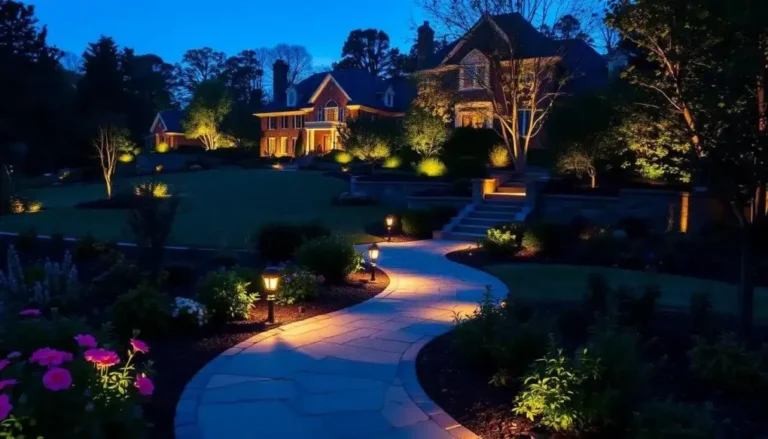
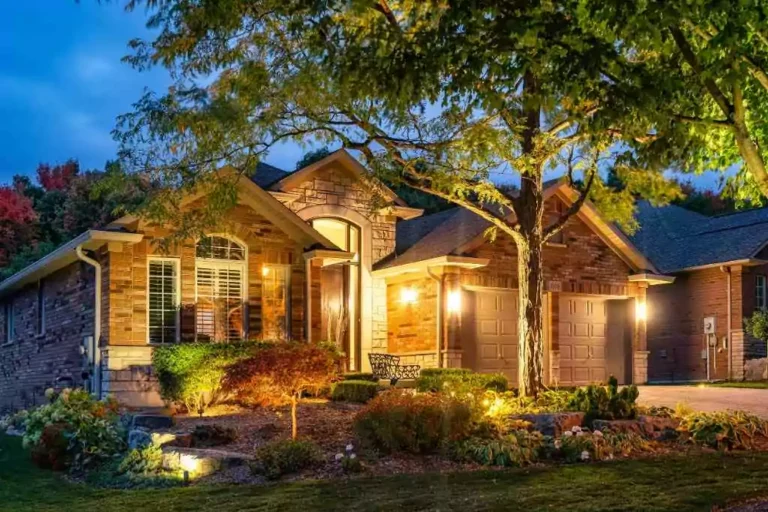
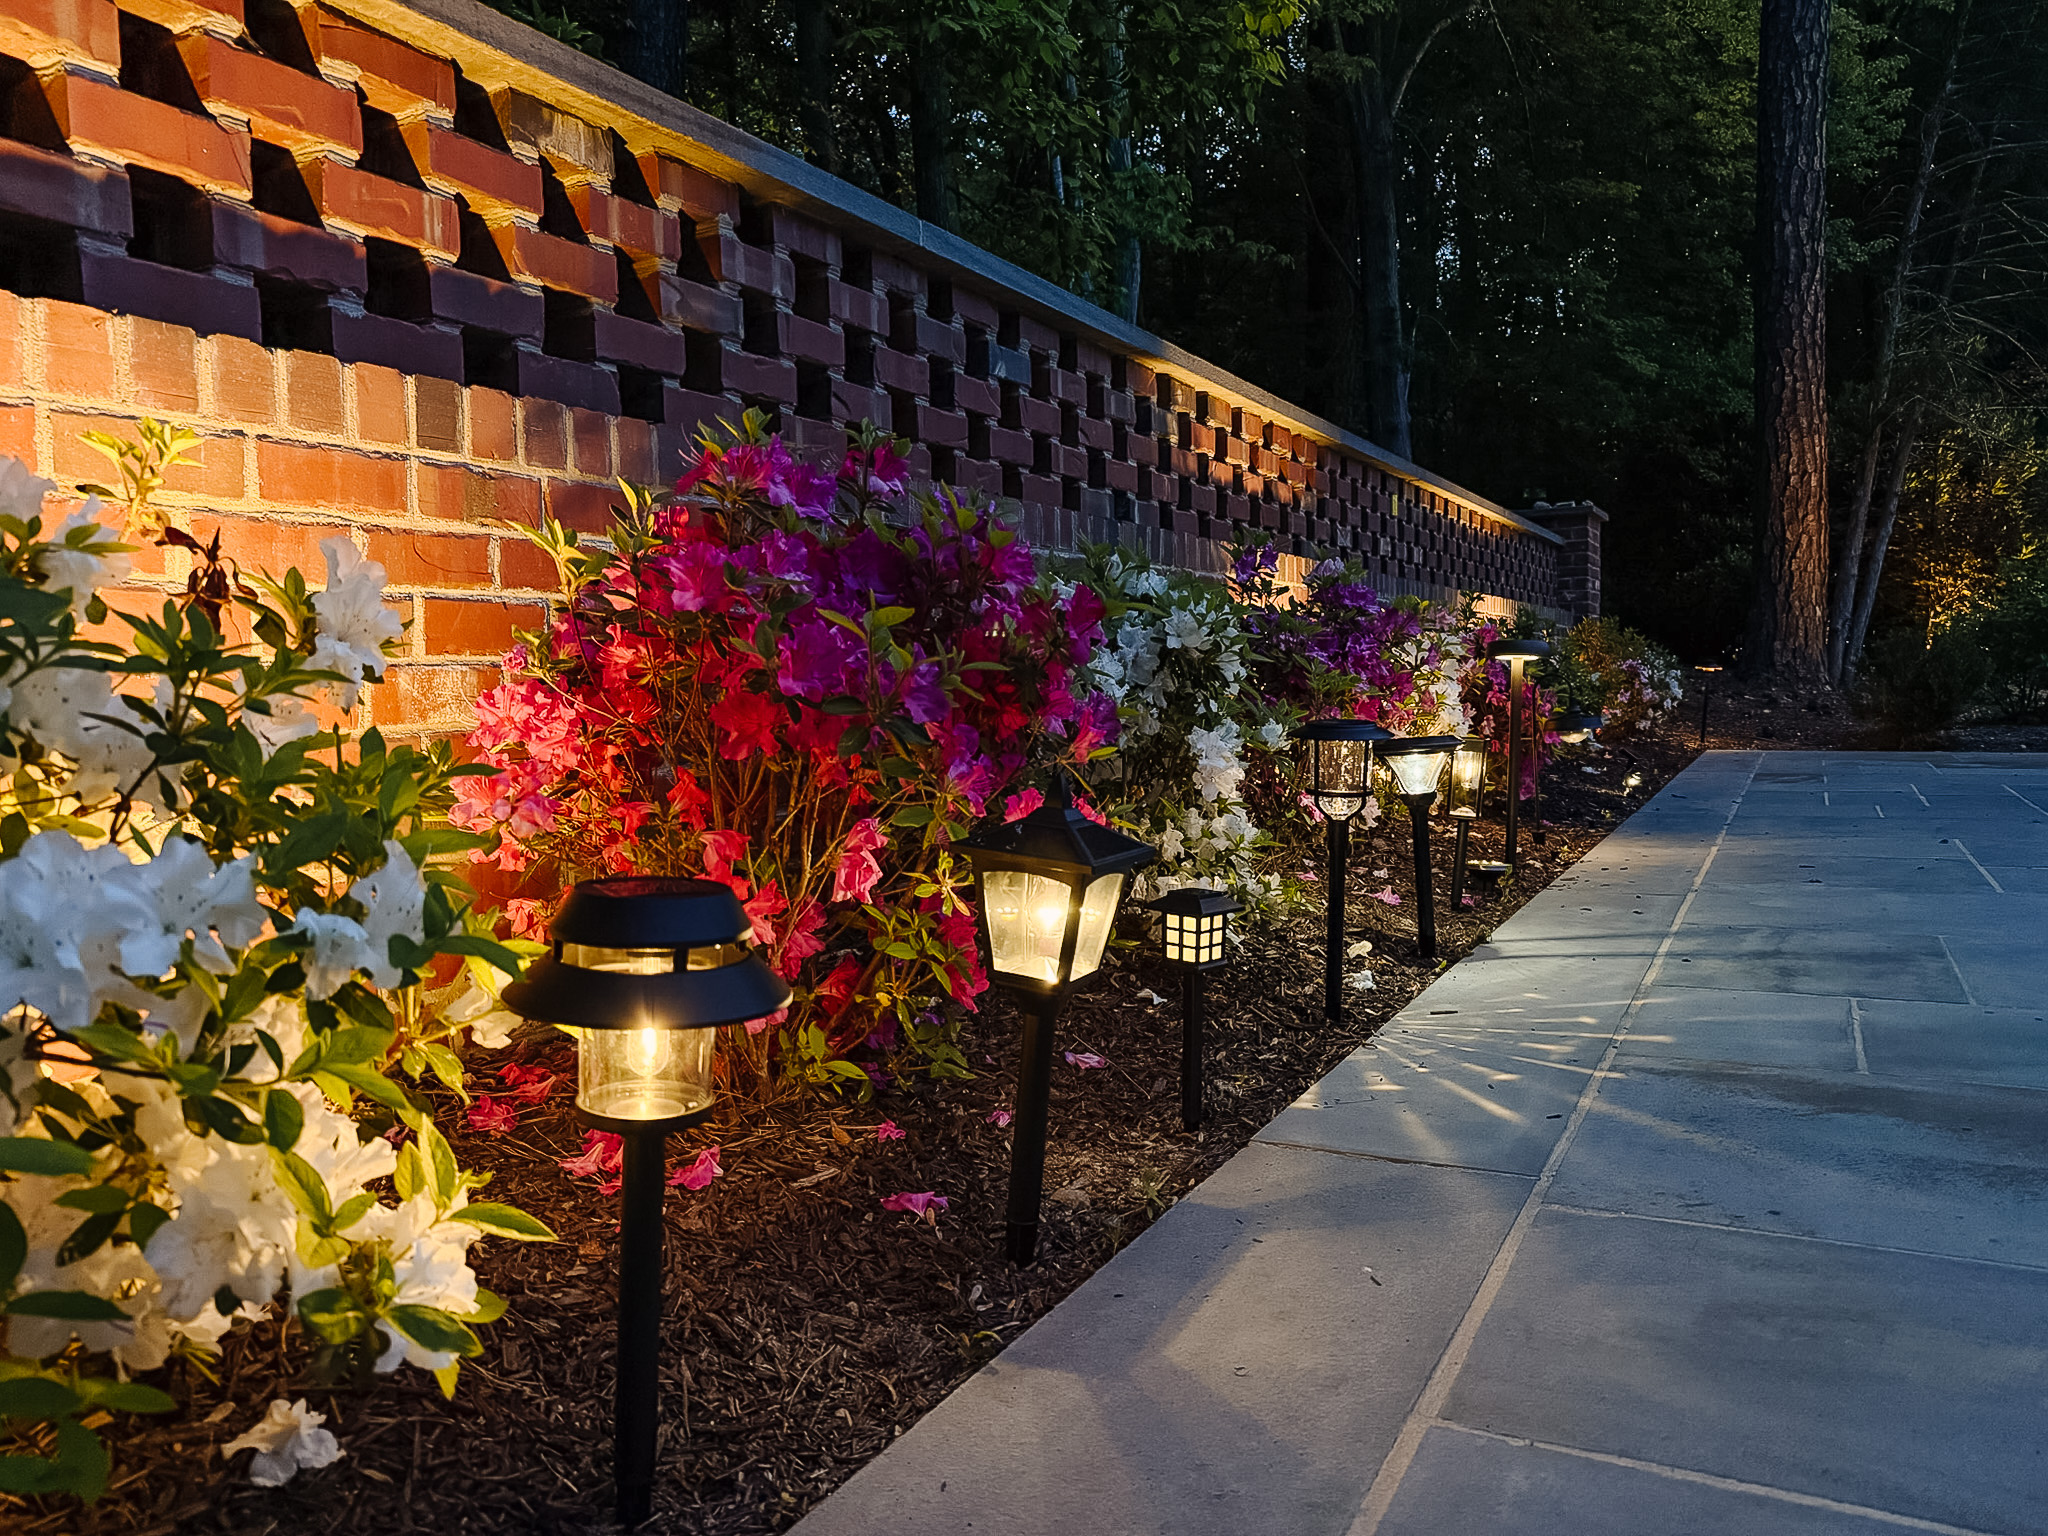
Professional path lighting prioritizes “low-level” illumination. This means keeping the light source (the filament or LED chip) shielded from the eye, ensuring that the traveler sees only the illuminated surface and not the glowing bulb itself. This distinction is critical in “curb appeal” and high-end residential design; an unshielded light is a distraction, while a shielded light is an invitation.
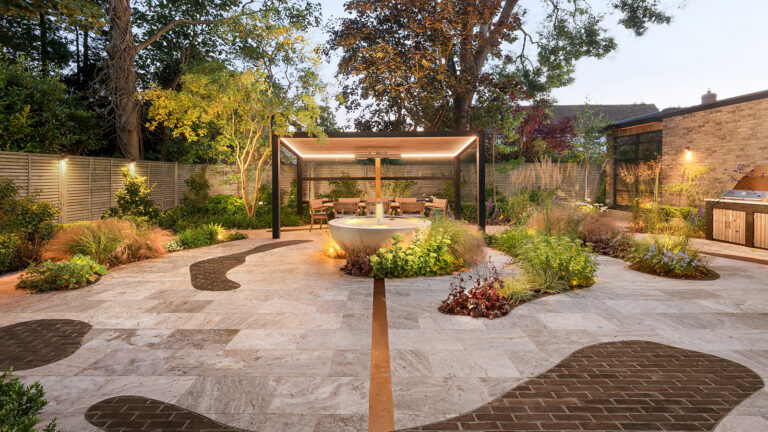
Oversimplification risks often manifest in the “runway effect,” where fixtures are placed in a perfectly straight line at equal intervals. This creates a rhythmic, hypnotic pattern that flattens the landscape and draws the eye away from the home’s architecture. A sophisticated plan uses staggered spacing and “intermittent pooling”—allowing for soft transitions between light and shadow—to create a sense of depth and naturalism that mimics the way moonlight filters through a canopy.
Deep Contextual Background: From Markers to Integrated Systems
The evolution of path lighting in the United States mirrors the history of suburban expansion. In the early 20th century, path lighting was largely non-existent; homeowners relied on “spill light” from the porch or a single high-mounted street lamp. The mid-century modern era introduced the first “mushroom” lights—primitive, top-heavy fixtures that used incandescent bulbs to cast a small circle of light on the ground.
The 1980s saw the rise of the 12V low-voltage transformer, which allowed for safer, more flexible installations that didn’t require the deep-trenching of high-voltage (120V) lines. However, these systems were plagued by voltage drop, where the lights at the end of a long run were significantly dimmer than those near the power source.
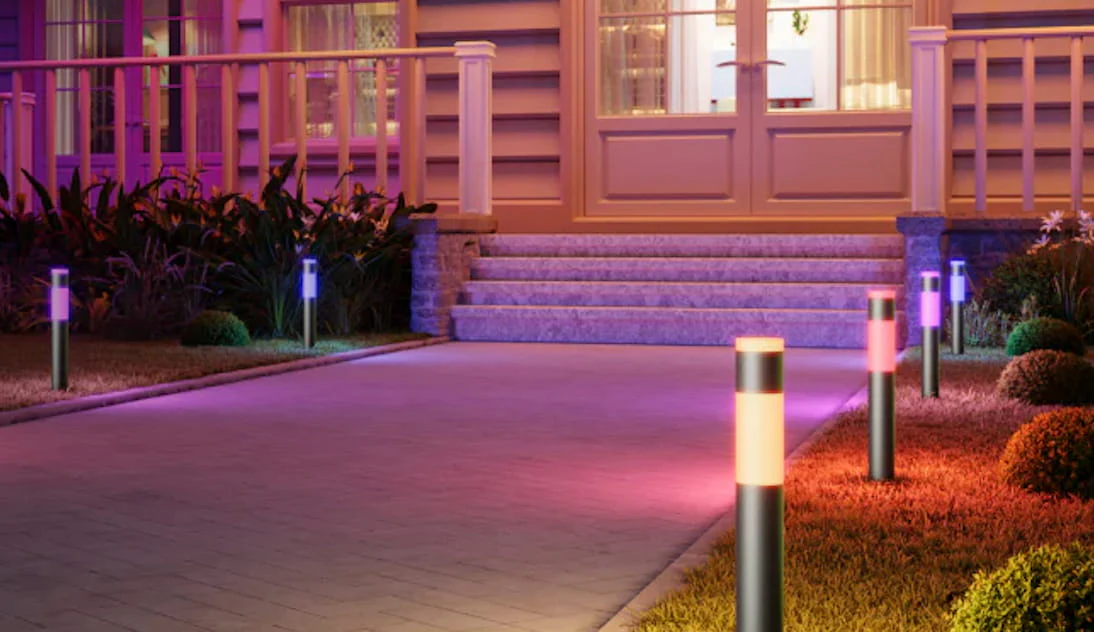
Today, we are in the era of “Optically Engineered LED.” Modern fixtures no longer use a standard bulb; they utilize a “light engine” integrated directly into the housing. This allows for superior thermal management and, more importantly, the use of precision lenses that can shape the light beam. We can now produce “asymmetric” light patterns that push light forward across a 5-foot wide walkway without wasting any light behind the fixture into the flower bed.
Conceptual Frameworks and Mental Models
To navigate the complexity of a landscape, professionals utilize several mental models to ensure the path remains both safe and evocative.
1. The Contrast Ratio Model
This model focuses on the relationship between the illuminated path and the surrounding darkness. For residential walkways, a contrast ratio of 3:1 (the path being three times brighter than the grass) is ideal. If the ratio exceeds 10:1, the eye struggles to adjust, and the path feels “sterile” or “commercial.”
2. The Mounting Height-to-Spread Ratio
This is a mathematical framework used to determine fixture placement. A 12-inch tall path light might cast a 4-foot diameter circle of light. To avoid the “runway effect” while ensuring safety, the edges of these circles should just barely touch or overlap by no more than 10%.
3. The “Leading the Eye” Framework
In this model, the path light is not just a safety tool but a navigational cue. Lights should be placed at “decision points”—where a path forks, where a step begins, or where the surface material changes. This reduces “cognitive load” for guests, making the property feel more intuitive and welcoming.
Key Categories and Technical Variations
Choosing the best exterior lighting for pathways and walkways requires matching the hardware category to the specific architectural style and pedestrian traffic of the site.
| Category | Primary Function | Ideal Material | Resilience Rating |
| Bollard | High-traffic commercial/modern | Heavy-gauge Steel/Brass | High (Impact Resistant) |
| Top-Shielded Path Light | Classic residential walk | Solid Copper/Brass | Medium (Bendable stems) |
| Recessed Tread Light | Stairs and stone walls | Stainless Steel/Composite | High (Protected from mowers) |
| Core-Drilled Marker | Minimalist modern paths | Brass/Glass | High (Flush-mounted) |
| Down-light (Tree-mounted) | Natural “Moonlight” effect | Aluminum (Potted) | Low (Subject to growth) |
Decision Logic: Integrated vs. Drop-in LED
-
Integrated LED: Best for permanent assets. The entire fixture acts as a heat sink, ensuring the chip lasts 50,000+ hours.
-
Drop-in (Replaceable Bulb): Best for homeowners who want to change the color temperature (e.g., warmer 2200K in autumn, cooler 3000K in summer) or beam spread over time.
Detailed Real-World Scenarios Best Exterior Lighting for Pathways and Walkways
Scenario 1: The Winding Forest Trail
A property with a long, meandering path through heavy tree cover.
-
Failure Mode: Using bollards that look too “urban” for the setting.
-
The Solution: “Moonlighting” from the tree canopy combined with low-profile copper “hat” lights that patina to a dark green, disappearing into the foliage during the day.
Scenario C: The High-End Contemporary Paver Walk
A minimalist home with large-format porcelain pavers.
-
The Strategy: Avoid traditional vertical fixtures entirely. Use “linear hardscape” lights tucked under the overhanging lip of the paver or the retaining wall alongside the path.
-
Effect: The path appears to glow from the edges, emphasizing the geometric lines of the modern design without the visual clutter of “sticks in the ground.”
Planning, Cost, and Resource Dynamics
The economic profile of a pathway lighting project is often misunderstood. The cost is not in the fixtures themselves, but in the infrastructure required to ensure they stay upright and illuminated for decades.
Range-Based Cost Table (Average 50-foot Walkway)
| Component | Standard Grade | Heritage/Professional | Logic of Variance |
| Fixtures (ea) | $60 – $120 | $250 – $550 | Cast Aluminum vs. Solid Brass |
| Wiring (Marine Grade) | $0.80/ft | $2.50/ft | Insulation thickness & copper purity |
| Transformer | $150 | $600 – $1,200 | Stainless steel vs. plastic; Smart hub |
| Installation | $500 | $2,000 – $4,000 | Hand-trenching vs. conduit & concrete |
The opportunity cost of choosing a budget system is high: aluminum fixtures will “pit” and oxidize within 36 months in coastal or high-humidity areas, leading to a total system failure that requires a complete “rip-and-replace.”
Risk Landscape and Failure Modes
The primary threat to path lighting in the United States is not the weather, but Mechanical Impact.
-
Mower Strike: Light fixtures placed too close to the edge of a lawn are frequently hit by commercial mowers. (Mitigation: Place fixtures 6-12 inches inside the bed or use flush-mounted markers).
-
Voltage Drop Compounding: If the wire gauge is too thin (e.g., 16/2), the last light on a 100-foot run will be 20% dimmer, causing the LED to “flicker” or shift color to a sickly blue-green.
-
Moisture Wicking: Using standard wire nuts in wet soil allows water to be “sucked” up into the fixture through capillary action. Only heat-shrink, grease-filled connectors should be used.
Governance, Maintenance, and Adaptation
A flagship lighting system requires a “Governance” mindset—treating the installation as a living asset.
-
Quarterly Lens Audit: Hard water from irrigation systems leaves mineral deposits on lenses. If not wiped, these bake on and reduce output by 50%.
-
Seasonal Re-aiming: Frost-heave in northern climates can “tilt” fixtures. A semi-annual check ensures every light is perfectly vertical.
-
Gasket Lubrication: For integrated units, applying silicone grease to gaskets every two years prevents them from becoming brittle and failing.
Measurement, Tracking, and Evaluation
-
Leading Indicator: “Foot-candle consistency.” Using a light meter to ensure the path maintains at least 0.5 to 1.0 foot-candles at its darkest point.
-
Qualitative Signal: The “Glare Test.” Walk toward the house from the street. If you can see the glowing LED chip from more than 10 feet away, the fixture is poorly shielded or placed.
-
Documentation: Maintain a “Wire Map” buried 6 inches deep in a PVC sleeve or saved as a digital PDF. This prevents future landscapers from cutting the lines during aeration or planting.
Common Misconceptions
-
“Solar lights are just as good”: Solar lights lack the battery density to provide a consistent 2700K warm glow for more than a few hours. They are “markers,” not “illuminators.”
-
“More lights make a path safer”: Too much light destroys night vision. A dimly lit path is actually easier to navigate once the eye adjusts.
-
“Lights should be perfectly symmetrical”: Symmetrical lighting feels commercial. Staggering lights (one left, then one right) creates a more inviting, residential flow.
Conclusion
The selection of the best exterior lighting for pathways and walkways is an exercise in restraint and technical foresight. By prioritizing material integrity—solid brass and copper—and respecting the optical physics of shielding and contrast, a property owner can transform a simple walk into a high-value architectural experience. The ultimate goal is a system that remains invisible during the day and provides a soft, intuitive guide by night. In the long term, the value of a path lighting system is measured not by how much light it provides, but by how successfully it preserves the beauty of the surrounding darkness.