How to Plan Landscape Lighting on a Budget: The Definitive Guide
The transformation of an outdoor space from a darkened void into a curated nocturnal environment is often perceived as a luxury reserved for high-end estates. This perception is driven by the visible opulence of professional installations, where dozens of fixtures illuminate sprawling gardens and architectural facades. However, the true value of exterior illumination lies not in the sheer volume of hardware, but in the strategic manipulation of shadow and focal points. How to Plan Landscape Lighting on a Budget. When one approaches the design of a property’s exterior, the primary constraint is rarely the creative potential of the land, but rather the allocation of financial resources.
Rationalizing the cost of such a project requires a departure from the traditional “buy-it-all-at-once” consumer mindset. A systemic approach to exterior lighting prioritizes the infrastructure—the invisible “bones” of the system—while allowing the decorative and atmospheric elements to emerge over time. This methodology ensures that safety and security are addressed immediately, while the aesthetic refinement of the landscape remains a modular, scalable goal. By shifting the focus from high-wattage floodlighting to precise, low-voltage accentuation, a property owner can achieve a sophisticated result without the staggering overhead of industrial-scale installations.
The complexity of planning within a fiscal limit involves navigating the trade-offs between initial capital expenditure and long-term operational costs. A “budget” is not merely a ceiling on spending; it is a prioritization tool. It forces the designer to ask which features of the landscape are essential to the property’s nocturnal identity and which are secondary. This article provides a comprehensive framework for navigating these decisions, offering a definitive reference for those seeking to maximize visual impact while maintaining strict fiscal discipline.
Understanding “how to plan landscape lighting on a budget”
To master how to plan landscape lighting on a budget, one must first dismantle the prevailing myth that “budget” is synonymous with “low quality.” In the editorial context of property management, a budget-conscious plan is an exercise in high-efficiency engineering. It requires a multi-perspective understanding of how light interacts with human psychology and the physical environment. A budget plan is often more intellectually demanding than an unlimited one because every fixture must justify its existence through both utility and aesthetic contribution.
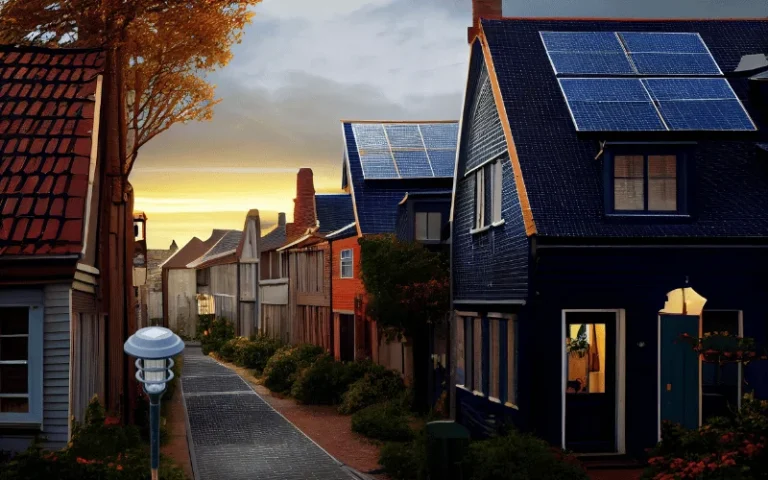
A common misunderstanding in this sector is the reliance on “all-in-one” solar kits found in big-box retail stores. While these offer a low entry price, they often represent a poor long-term investment due to their limited lumen output, inconsistent battery life, and lack of repairability. A professional-grade budget strategy instead focuses on a robust, low-voltage (12V) transformer and high-quality wiring as the foundation. This allows the user to add fixtures incrementally as funds become available, ensuring the system grows with the landscape rather than becoming obsolete after a single season.
Oversimplification risks are prevalent when homeowners prioritize “quantity over quality.” Installing twenty mediocre lights along a driveway often creates a “runway” effect that is visually distracting and provides little actual safety. A sophisticated plan would instead use five strategically placed, high-CRI (Color Rendering Index) fixtures to highlight architectural textures and guide the eye toward the entrance. By focusing on “Visual Acuity” rather than “Luminous Volume,” the planner achieves a premium look at a fraction of the hardware cost.
Contextual Evolution: The Democratization of the Night
The history of outdoor lighting is a trajectory from high-maintenance combustion to the digital precision of LEDs. In the early 20th century, exterior illumination was a utility of the elite, requiring high-voltage (120V) systems that were dangerous to install and expensive to operate. These systems were often “on or off,” with no nuance in dimming or spectral control.
The introduction of low-voltage transformers in the mid-century modern era began to lower the barrier to entry, but it was the “LED Revolution” of the early 2010s that truly democratized landscape lighting. LEDs reduced the power draw by nearly 80% compared to halogen bulbs, meaning smaller transformers and thinner gauge wire could be used. This shift drastically lowered the material costs of installation. Today, the challenge is no longer the cost of the electricity, but the strategic selection of hardware that can survive the elements while providing professional-grade light quality.
Conceptual Frameworks and Mental Models
1. The “Phased-Rollout” Model
This framework views the lighting system as a living document. Phase One focuses on “Primary Safety” (steps, entrances, hazards). This prevents the financial shock of a full-scale installation.
2. The “Darkness-as-Negative-Space” Model
In professional design, what you don’t light is as important as what you do. By leaving secondary areas in shadow, the planner creates contrast and depth. This mental model reduces the number of fixtures needed by 30-50% while actually increasing the dramatic effect of the lighting.
3. The “Infrastructure-First” Model
This model dictates that 40% of the initial budget should be spent on the “hidden” components: the transformer, the hub connectors, and the heavy-duty burial wire. Fixtures are treated as “peripherals” that can be upgraded or replaced, but the core system must be indestructible.
Key Categories of Budget-Friendly Infrastructure
Choosing the right category of lighting is a fundamental decision in how to plan landscape lighting on a budget.
| Infrastructure Type | Initial Cost | Durability | Scalability | Aesthetic Quality |
| High-End Solar | Moderate | 2-4 Years | Low | Moderate |
| DIY Low-Voltage (12V) | Moderate | 10-15 Years | High | High |
| Professional 12V System | High | 20+ Years | Infinite | Very High |
| Line-Voltage (120V) | Very High | 30+ Years | Low | High |
Strategic Decision Logic
For most residential applications, the 12V Low-Voltage System is the optimal choice. It is safe for DIY installation (no licensed electrician required for the burial lines), highly flexible for future garden growth, and offers the widest variety of fixture styles.
Detailed Real-World Planning Scenarios How to Plan Landscape Lighting on a Budget
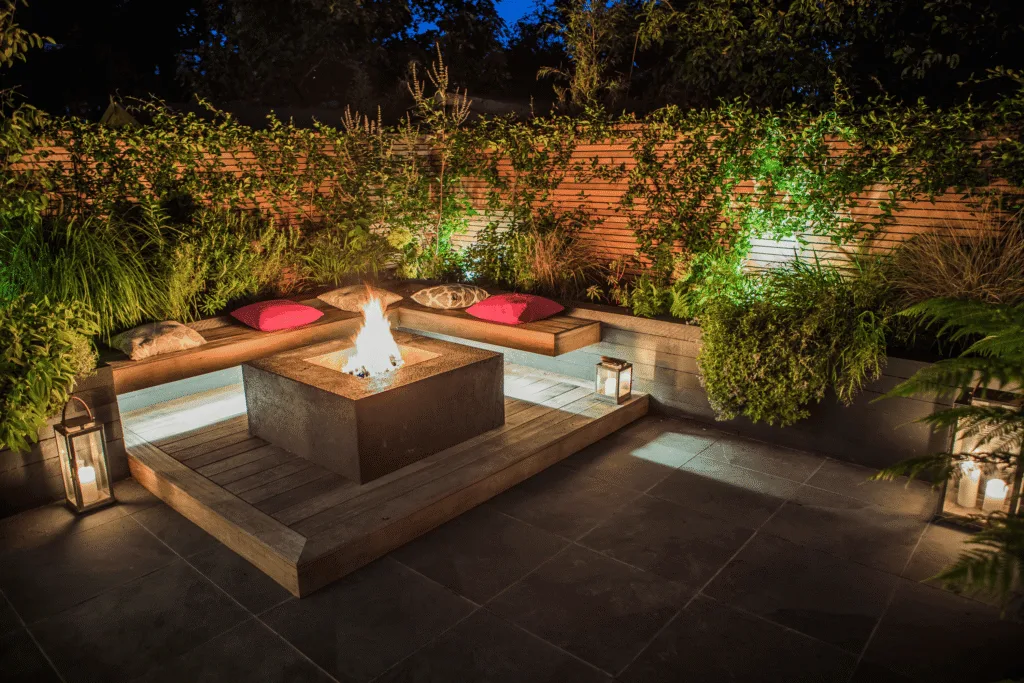
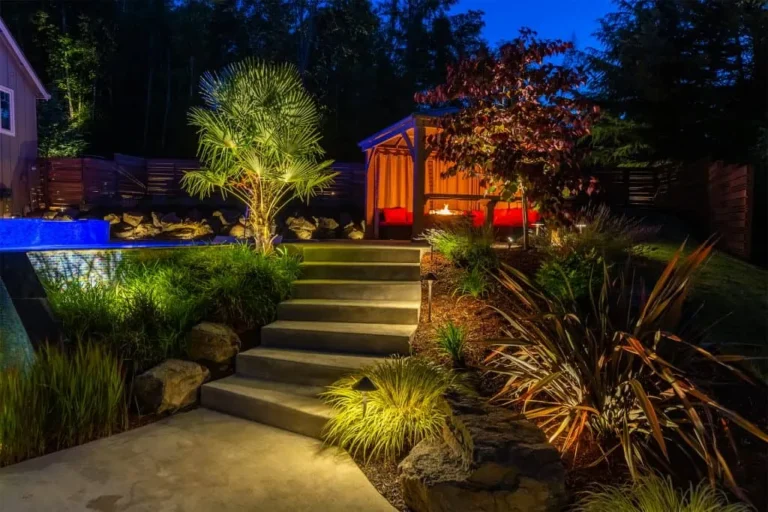
Scenario 1: The Small Urban Patio
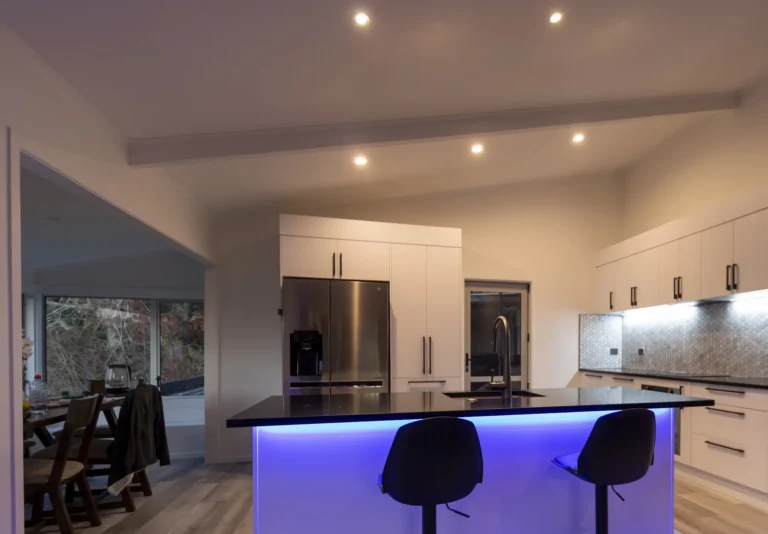
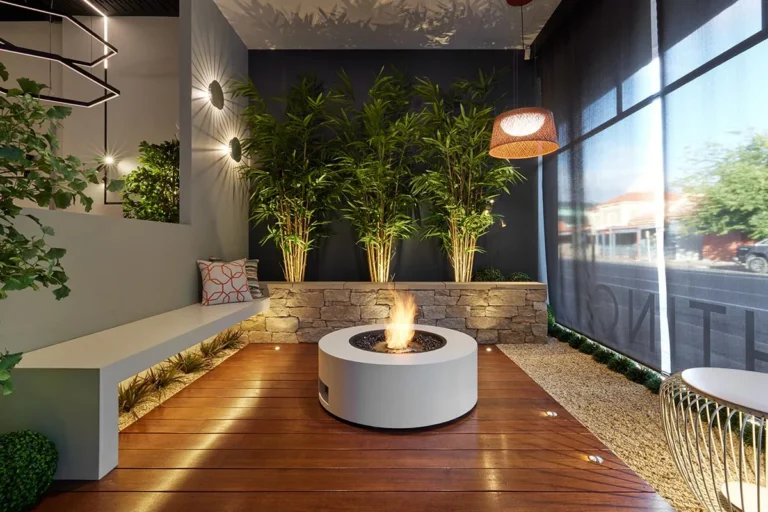
The constraint here is space and the potential for glare. The budget-friendly solution is “up-lighting” a single specimen tree and using “under-cap” ledge lights on a retaining wall. By reflecting light off surfaces rather than pointing it at the eye, the space feels larger and more expensive than it is.
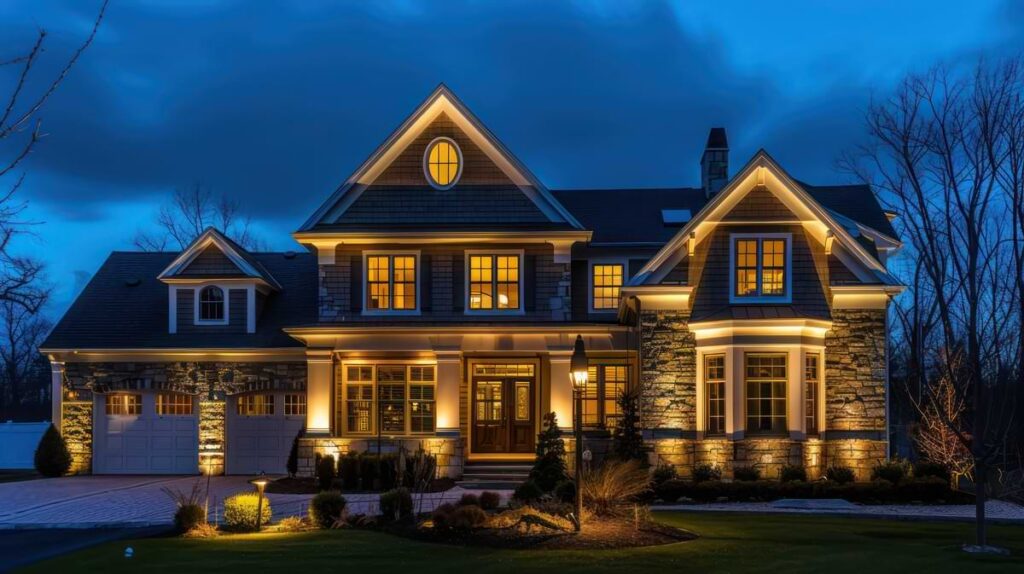
Scenario 2: The Suburban Front Yard
The goal is “Curb Appeal.” Instead of lighting every bush, the plan focuses on the “Three Points of Interest”: the front door, the most mature tree, and the corner of the house. This creates a visual triangle that provides a sense of completeness without requiring a dozen fixtures.
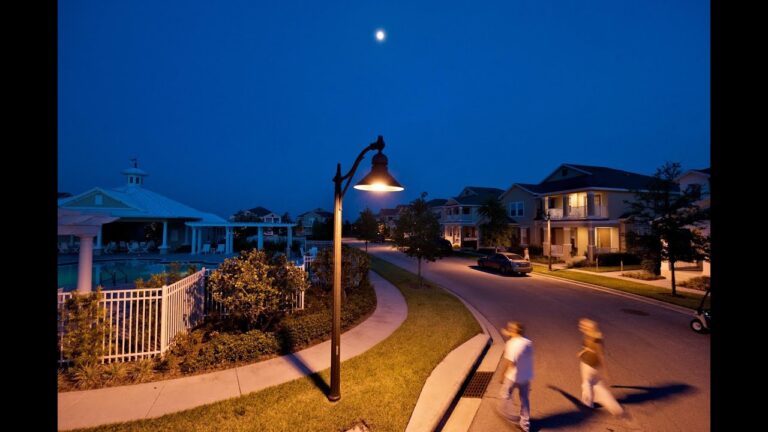
Scenario 3: The Wooded Rural Path
The failure mode in rural areas is “light pollution” and the loss of the night sky. The budget strategy uses “Moonlighting”—placing a single high-output downlight in a tall tree canopy to cast a wide, gentle wash of light over the ground. One light replaces five path lights, saving on both hardware and trenching labor.
Economic Dynamics: Capital vs. Operational Expenditure
When planning on a budget, one must look at the “Total Cost of Ownership” (TCO) over a five-year horizon.
5-Year Budget Allocation Comparison
| Expense | Halogen (Legacy) | LED (Modern) | Smart-Integrated LED |
| Initial Hardware | $300 | $500 | $800 |
| Energy (5 Yrs) | $600 | $120 | $100 |
| Maintenance/Bulbs | $250 | $0 | $0 |
| Total 5-Year TCO | $1,150 | $620 | $900 |
The paradox is that the “cheapest” initial system (Halogen) becomes the most expensive within three years due to energy consumption and bulb replacements.
Tools, Strategies, and Support Systems
-
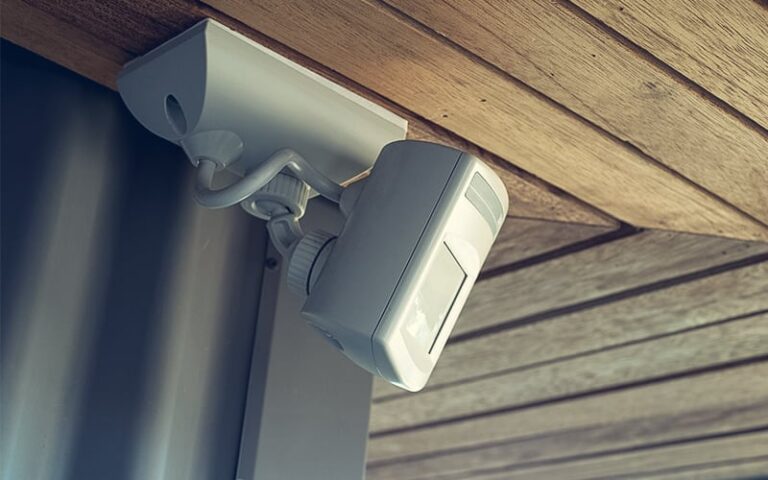
Astronomical Timers: These are more expensive than mechanical ones but pay for themselves by ensuring lights are only on when it is actually dark, regardless of the season.
-
Voltage Drop Calculators: Crucial for budget plans using thinner wire. It ensures the last light on the line isn’t dimmer than the first.
-
Pressure-Piercing Connectors: A primary failure point. Spending $5 more on “gel-filled” wire nuts prevents corrosion and system-wide shorts.
-
Recessed Hubs: Instead of “daisy-chaining” lights (which is prone to failure), use a hub-and-spoke method to simplify troubleshooting.
-
Directional Shrouds: These allow you to use cheaper, higher-output bulbs while physically cutting off the glare, achieving a “pro” look with basic hardware.
-
Color Filters: A $10 lens can turn a harsh white LED into a warm, inviting glow that mimics high-end gas lanterns.
Risk Landscape and Failure Modes
The primary risk in budget lighting is “Corrosive Degradation.” Water ingress in cheap fixtures will short out a system within one winter.
-
The “Runway” Effect: Over-lighting a path creates a visual distraction.
-
Glare-Bombing: Pointing lights up without shields, blinding neighbors and occupants.
-
Transformer Overload: Adding “one more light” to a budget transformer that has already reached 90% capacity, leading to premature fire or failure.
Governance, Maintenance, and Long-Term Adaptation
A budget system requires higher “labor equity” to remain functional.
-
Quarterly Lenses Cleaning: Dirt buildup on a 3W LED reduces output by 30%. Cleaning them is a “free” way to increase brightness.
-
Seasonal Aiming: As plants grow, they block the light. Re-aiming fixtures twice a year ensures the light stays on the target, not the leaves.
-
The “As-Built” Map: Documentation is the most overlooked budget tool.
Measurement, Tracking, and Evaluation
How do you know if your budget plan was successful?
-
The Window Test: Stand inside the house at night. If you see “hot spots” of light, the plan needs refinement. If the yard looks like a natural extension of the room, it’s a success.
-
The Safety Audit: Use a light meter (or a phone app) to ensure path areas have at least 1-2 foot-candles of light.
-
Documentation Example: Maintain a “Fixture Log” that tracks the date of installation and the wattage of each bulb to manage transformer load over time.
Common Misconceptions and Oversimplifications
-
“Higher wattage is better”: In the LED era, wattage is just power draw. Look for “Lumens” and “Beam Angle.”
-
“Solar is free”: The cost of replacing solar fixtures every two years often exceeds the cost of a wired system.
-
“I can just use my indoor bulbs”: Indoor LEDs are not “potted” (sealed) and will fail immediately in a damp outdoor environment.
-
“All LEDs are white”: Choosing 2700K (Warm White) is the single most important decision for a high-end look on a budget.
Conclusion: The Art of the Curated Night
The mastery of how to plan landscape lighting on a budget is found in the transition from consumer to curator. It is an acknowledgment that the night does not need to be conquered with overwhelming brightness, but rather invited in through intentional illumination. By prioritizing a high-quality infrastructure, embracing a phased approach, and respecting the natural depth of shadows, a property owner can create a nocturnal environment that rivals the most expensive professional installations. The budget is not a limitation on beauty; it is a catalyst for smarter, more sustainable design.