How to Plan Deck Lighting on a Budget: The Ultimate Pillar Guide
The architectural transition of a residential deck from a daytime utility to a nocturnal sanctuary is frequently misunderstood as an exercise in hardware procurement. However, when the constraint of a fixed financial ceiling is introduced, the challenge shifts from selection to strategy. How to Plan Deck Lighting on a Budget. In the modern landscape of home improvement, achieving an evocative and safe exterior environment requires a sophisticated understanding of how photons interact with physical structures, the physics of low-voltage electricity, and the long-term cost of material degradation.
Planning for an outdoor space is fundamentally different from interior design due to the variables of environmental exposure. A budget-conscious homeowner is often tempted by the immediate gratification of low-cost, retail-grade solar “stakes” or plastic string lights. While these may provide temporary illumination, they rarely contribute to the structural narrative or the long-term property value of the home. A true editorial approach to this problem prioritizes “optical efficiency”—the art of using the fewest number of lumens to achieve the maximum psychological and functional impact.
This pillar article serves as a technical and strategic blueprint for those seeking to maximize their aesthetic return on investment. We will examine the mechanics of “layered lighting,” the economic reality of maintenance cycles, and the specific failure modes that plague amateur installations. By moving beyond the surface-level advice of “buying cheap,” we establish a framework for a professional-grade nocturnal environment that remains resilient against both the elements and shifting design trends.
Understanding “how to plan deck lighting on a budget”
To effectively master how to plan deck lighting on a budget, one must first decouple the concept of “luxury” from “expense.” In architectural lighting, luxury is a measure of precision, not the price tag of the fixture. A budget-driven plan focuses on high-impact zones—stairs, railings, and seating areas—while allowing the less critical areas of the landscape to remain in a controlled, atmospheric darkness.
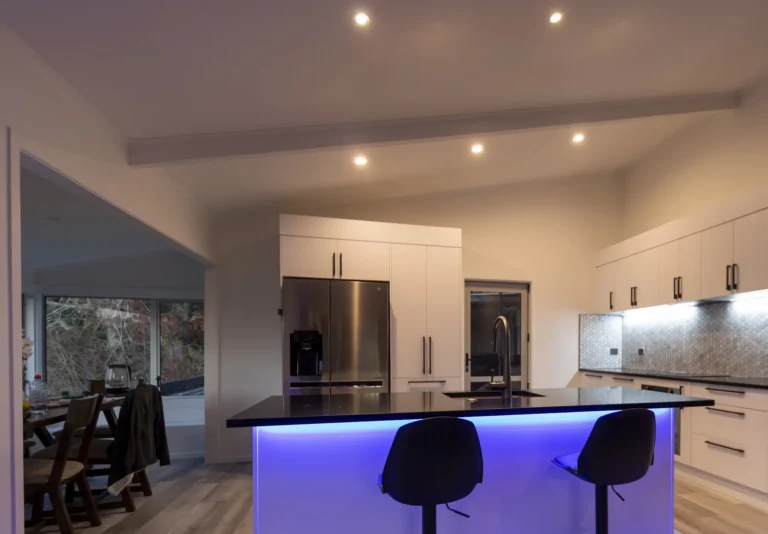
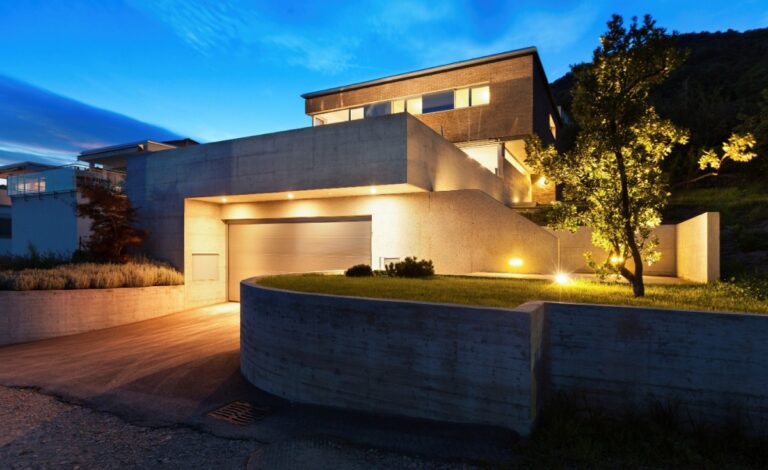
The primary misunderstanding in this space is the conflation of “brightness” with “beauty.” Intense light sources frequently cause the human pupil to contract, effectively making the unlit areas of the yard appear even darker—a phenomenon known as “disability glare.” A budget-conscious plan avoids high-wattage floodlights, which are visually jarring, and instead utilizes low-voltage (12V) systems that provide a soft, layered glow. This approach is not only more aesthetically pleasing but significantly safer for navigation.
Oversimplification risks often manifest in the “buy now, fix later” mentality. Many homeowners assume that starting with cheap solar lights and upgrading later is a sound strategy. However, the opportunity cost of this path is high. Solar lights lack the battery density to provide consistent 2700K (warm) light through the winter months, and their plastic housings degrade under UV exposure within 24 months. A professional budget plan prioritizes a “core infrastructure” approach: investing in a high-quality transformer and primary wire runs first, then adding high-quality fixtures incrementally as funds allow.
Deep Contextual Background: From Fire to Semiconductors
The history of deck illumination in the United States reflects a shift from necessity to leisure. In the mid-20th century, the “deck” was a simple wooden platform, and its lighting was limited to a single “porch light”—an unshielded incandescent bulb that attracted insects and provided little ambiance. As the suburban dream evolved in the 1970s and 80s, we saw the introduction of the first low-voltage kits. These were primitive by modern standards, featuring halogen bulbs that generated significant heat and required heavy, buzzing transformers.
The current era is defined by the “Semiconductor Revolution.” Integrated LEDs have fundamentally altered the economics of deck lighting. Because LEDs are highly directional and energy-efficient, we can now use ultra-thin wiring and smaller power sources. This technological leap has made professional-grade results accessible on a budget, provided the homeowner understands the “spectral quality” of the light. We are no longer just “turning on lights”; we are using light to define the architectural volume of the home’s exterior.
Conceptual Frameworks and Mental Models
To achieve a high-end result with limited resources, one must apply specific mental models used by lighting designers.
1. The Three-Layer Hierarchy
Every successful deck requires three layers of light, regardless of the budget:
-
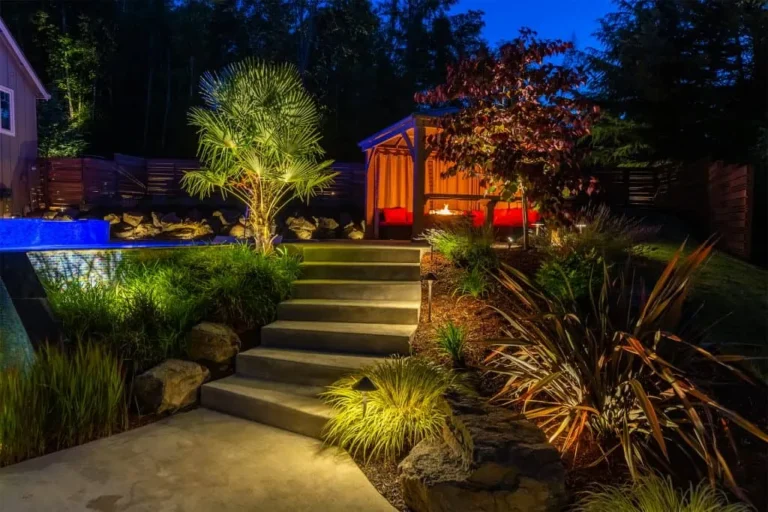
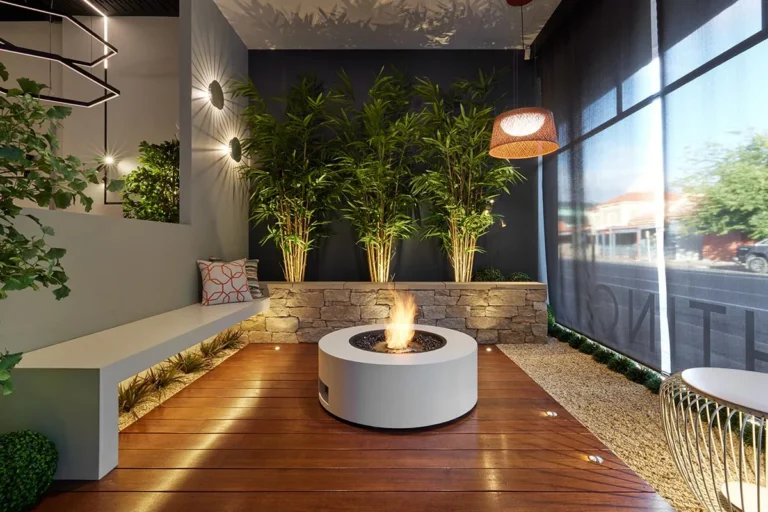
Task/Safety: Lighting the stairs and the grill area.
-
Ambient: Soft washes on the deck floor or perimeter.
-
Accent: Highlighting a specific architectural feature or a nearby tree.
-
Budget Constraint: In a restricted plan, focus 70% of the budget on Task/Safety.
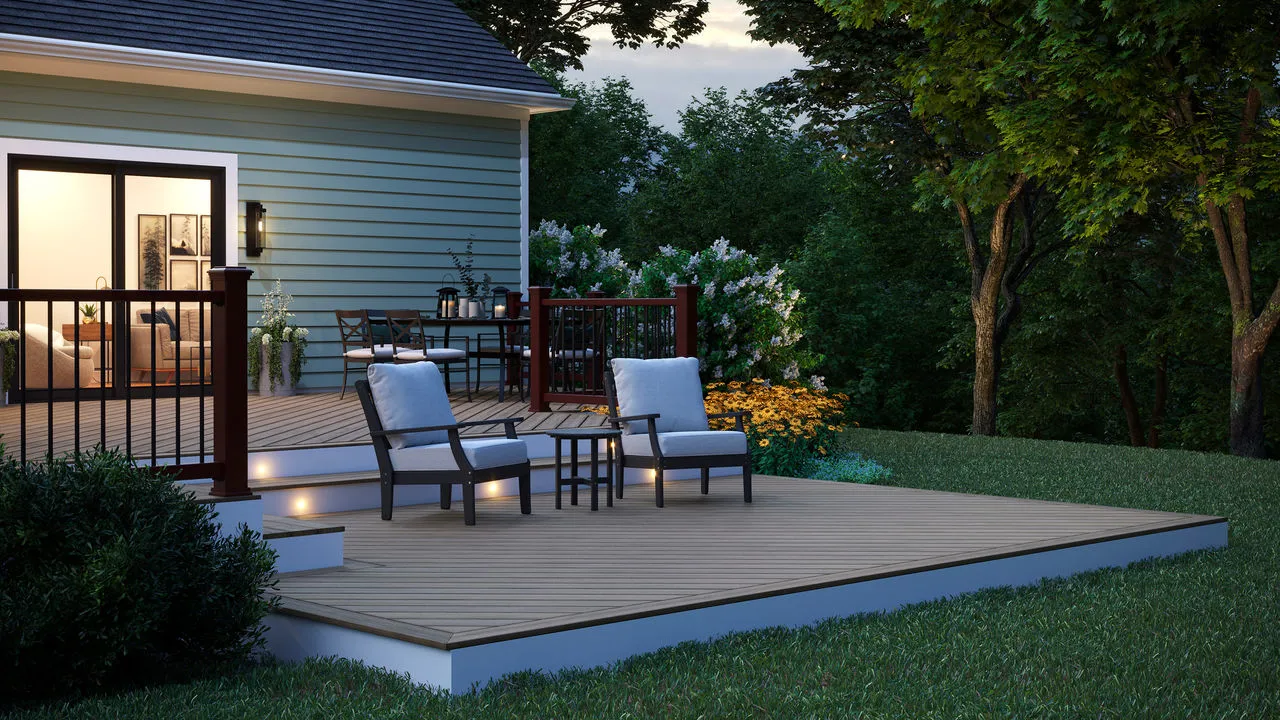
2. The Interior-Exterior Visual Plane
This model treats the deck as a visual extension of the adjacent indoor room. To prevent the glass sliding doors from becoming “black mirrors” at night, the deck’s light intensity must be balanced with the interior’s dimming levels. If the deck is too dark, the interior feels exposed; if the deck is too bright, the interior feels claustrophobic.
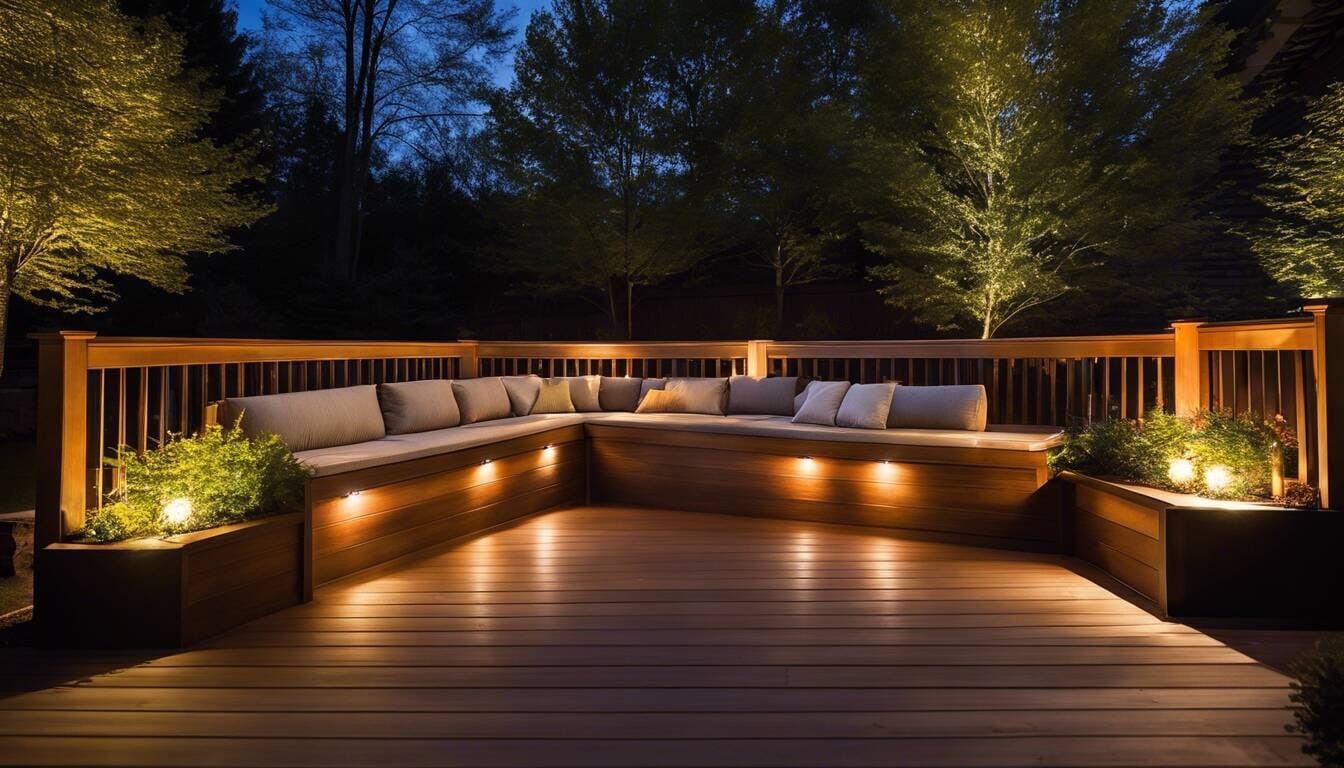
3. The “Light-to-Shadow” Ratio (3:1)
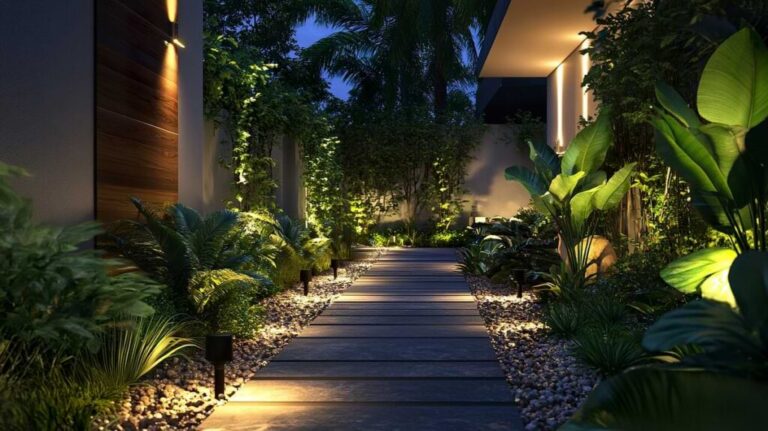
High-authority lighting relies on contrast. For a feature to stand out, it should be approximately three times brighter than its surroundings. Budget plans often fail by trying to light everything equally, which flattens the space and requires more fixtures. By embracing shadow, you use fewer lights and create more depth.
Key Categories and Technical Variations
Understanding how to plan deck lighting on a budget requires selecting the correct “tool” for each architectural detail.
| Category | Typical Application | Material Trade-off | Budget Logic |
| Post-Cap Lights | Perimeter definition | Plastic vs. Metal | Visible; choose metal for durability |
| Recessed Riser | Stair safety | Stainless Steel vs. Aluminum | Protects against foot traffic |
| Undercap Light | Railings and seating | Silicone strip vs. Brass housing | Hidden; use silicone for cost savings |
| In-Grade Well | Up-lighting walls | Composite vs. Brass | Heavy duty; requires drainage |
| Path Markers | Deck-to-lawn transition | Aluminum vs. Solid Copper | Copper patinas; Alum may peel |
Decision Logic: Integrated vs. Drop-in LED
A critical decision point for the budget-conscious is whether to use “Integrated” fixtures (where the LED is built-in) or “Drop-in” (which take a replaceable bulb). Integrated fixtures usually offer better “thermal management”—heat sinks that pull heat away from the diode, extending its life to 50,000+ hours. Drop-in fixtures allow for easier bulb replacement if one fails, but they are more susceptible to moisture ingress over time.
Detailed Real-World Scenarios How to Plan Deck Lighting on a Budget
Scenario A: The Single-Level Pressure-Treated Deck
For a standard 12×12 deck with limited funds, the priority is “Safety First.”
-
The Plan: Install six recessed riser lights on the steps and four post-cap lights at the corners.
-
Tactical Budgeting: Use high-quality brass riser lights but opt for professional-grade LED string lights (Edison bulbs) for the ambient overhead layer. This provides a “festive” atmosphere at a fraction of the cost of permanent architectural down-lighting.
Scenario B: The Modern Multi-Tier Composite Deck
Composite decks (like Trex or AZEK) are expensive materials that require precision.
-
The Plan: “Linear Layering.” Utilize silicone-jacketed LED tape light tucked under the railing “lip.”
-
Second-Order Effect: The light reflects off the deck boards, providing an even wash without needing multiple expensive post-lights.
-
Failure Mode: Using standard adhesives; in a budget plan, mechanical clips are necessary to prevent the tape from sagging in summer heat.
Planning, Cost, and Resource Dynamics
The economic profile of deck lighting is heavily front-loaded toward the “Core Infrastructure.”
Range-Based Cost Dynamics (System for 10-12 Fixtures)
| Component | DIY Retail Grade | Professional Budget | Logic of Variance |
| Transformer | $80 – $120 | $250 – $450 | Stainless steel vs. Plastic; Timer accuracy |
| Fixtures (ea) | $15 – $30 | $60 – $150 | Cast Aluminum vs. Solid Brass |
| Wire (100ft) | $40 (16/2 gauge) | $120 (12/2 gauge) | Voltage drop resilience over distance |
| Total Project | $400 – $600 | $1,200 – $2,500 | Long-term reliability vs. Rip-and-replace |
The opportunity cost of an ultra-cheap system is the labor of replacement. If a $20 fixture fails in two years, the time spent troubleshooting and replacing it often exceeds the $60 cost of a professional-grade alternative.
Tools, Strategies, and Support Systems
-
Astronomical Clocks: Essential for budget management. These timers adjust for sunset times daily, ensuring you never waste electricity when the sun is still out.
-
Voltage Drop Calculators: Crucial for low-voltage (12V) systems. If the wire run is too long, the last light on the deck will be dimmer than the first.
-
Hex-Baffle Louvers: Small inserts that eliminate side-glare. They are a “pro secret” for making cheap fixtures look like high-end architectural accents.
-
Heat-Shrink Connectors: Standard wire nuts fail in wet soil. Grease-filled, heat-shrink connections are non-negotiable for system longevity.
-
Multimeters: Used to test the “load” at each fixture. Over-voltage is the leading cause of premature LED failure.
-
Drill Jigs: Ensuring riser lights are perfectly centered on steps creates a “high-end” symmetry that elevates the overall look of the deck.
Risk Landscape and Failure Modes
The primary risk in budget deck lighting is “Moisture Wicking.”
-
The Taxonomy: When a wire is nicked during installation, moisture is “sucked” up into the fixture through capillary action. This leads to internal corrosion and total circuit failure.
-
Compounding Risks: Overloading the transformer. If a homeowner adds “just one more light” to a nearly full transformer, the entire system may experience “flicker” or thermal shutdown.
-
Biological Interference: In many regions, squirrels or rabbits chew through exposed low-voltage wire. A budget plan must include “conduit” (even simple PVC) for any wire runs not buried 6 inches deep.
Governance, Maintenance, and Long-Term Adaptation
A successful deck lighting system requires a governance model—a schedule of review to ensure the “pillar” status of the home is maintained.
-
Quarterly Lens Wipe: Removing mineral deposits from irrigation systems that “bake” onto the glass.
-
Semi-Annual Re-aiming: As deck boards settle or shrubs grow, fixtures may need slight adjustments.
-
Annual Terminal Check: Tightening the screws in the transformer, which can loosen due to seasonal expansion and contraction.
Measurement, Tracking, and Evaluation
-
Quantitative Signal: “Lumen-to-Wattage Efficiency.” A modern LED system should draw less than 40 watts for a standard 10-fixture deck.
-
Qualitative Signal: “The Neighborhood Walk.” Approach your home from 50 yards away. Can you see the glowing bulbs, or can you only see the effect of the light? If the bulbs are visible, the shielding is inadequate.
-
Documentation: Maintain a “Wire Map”—a simple digital photo of the deck frame with the wire runs marked. This prevents future damage during deck repairs or landscaping.
Common Misconceptions
-
“Solar is free light”: In reality, solar is the most expensive form of lighting because the fixtures must be replaced every 1-2 years, and they provide zero “curb appeal” value in the winter.
-
“More lights equal more safety”: Excessive light creates deep shadows where the eye cannot adjust. Soft, even light is superior for security.
-
“LEDs last forever”: The diode might, but the internal “driver” (the electronics) is vulnerable to heat and power surges.
-
“I don’t need a professional transformer”: A high-quality transformer protects your LEDs from grid spikes; a cheap one does not.
Conclusion
Mastering how to plan deck lighting on a budget is an exercise in restraint and technical foresight. By prioritizing the “core infrastructure” and focusing on the three-layer hierarchy, a homeowner can create a nocturnal environment that rivals high-end professional installations. Success in this field is not measured by the brightness of the lights, but by the subtlety of the shadows and the longevity of the components. A well-planned deck is more than a platform; it is a permanent architectural asset that thrives long after the sun goes down.